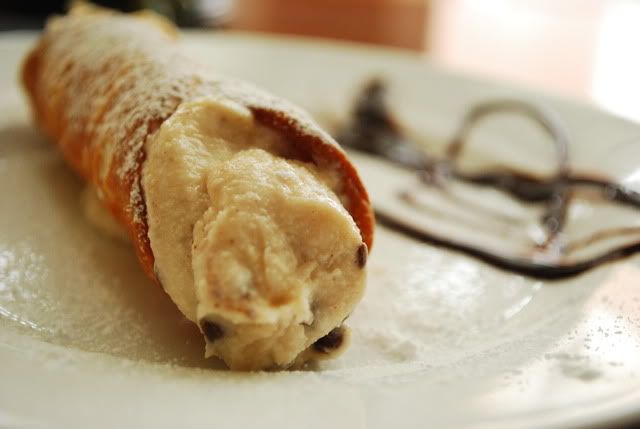
I was so happy when I came upon this recipe from a friend and former co-worker of mine. There are so many great things about this recipe. Let me outline them below because I don't want to miss a thing!
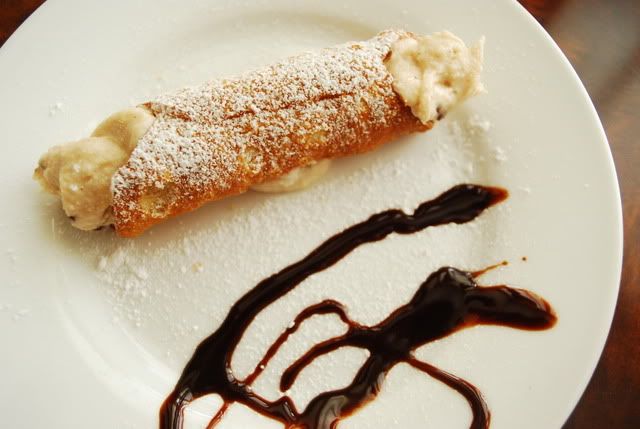
1. It was generously passed on to me from a former co-worker,Rita, who shares my Italian-American heritage. She had posted a status update and some photos on Facebook about her weekend making her great-Aunt Zia's homemade cannolis. I was interested immediately! I messaged her and asked if she could send me the recipe.
2. Not only did she agree to share her family's recipe that they've been making for generations, but she also offered me a sample of the cannoli shells she had just made!! What's better than being passed a tried-and-true tested recipe complete with a taste of the final product?? I was very excited!
3. On top of passing on the recipe and a few finished shells to boot, she went over the process with me step-by-step telling me some hints that worked for her, which made the whole process that much more foolproof for me.
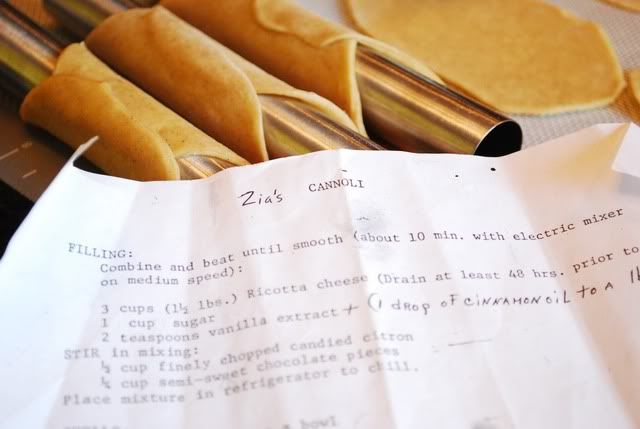
4. I love that the grease spots and aged look of the original recipe came through on the photocopy. It makes me feel like I've been handed a little piece of my friend's family history.
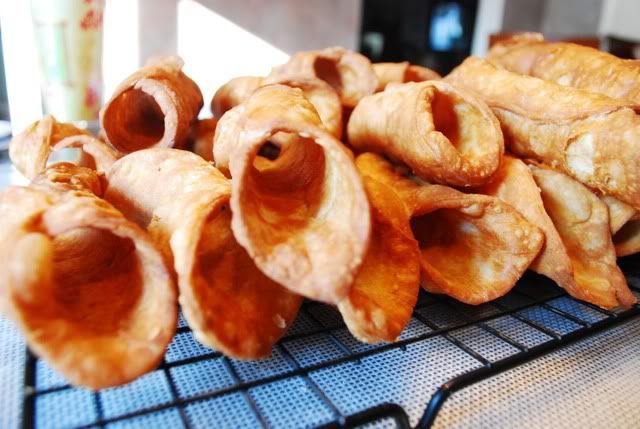
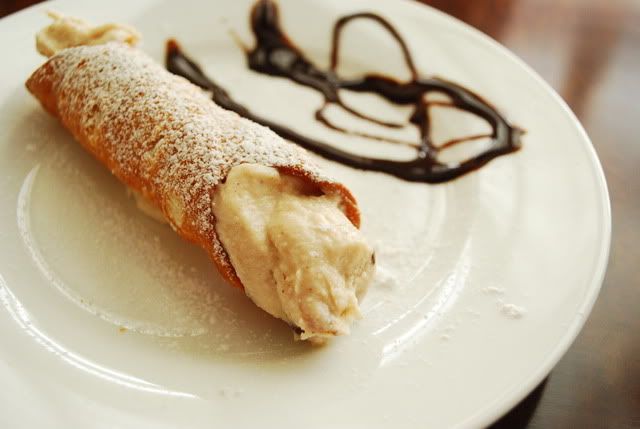
5. These cannoli are DELICIOUS!!! The shells turn out light, crispy and airy and the filling is perfect, not too sweet or grainy.
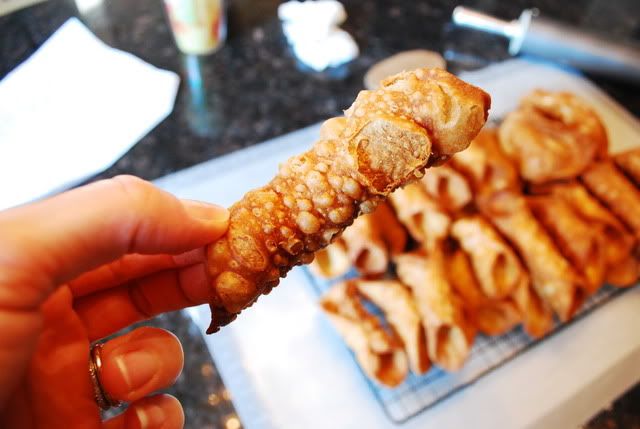
My mom and I made these this past Christmas and I will say, it's a time-consuming process. I spent practically a whole day making the cannoli shells.
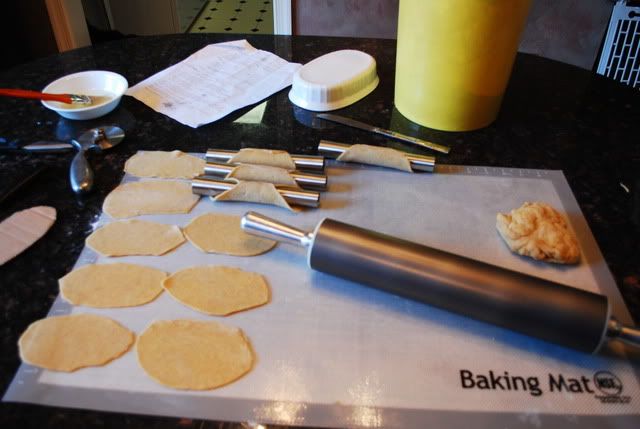
Having a deep fryer made the process go quite smoothly - rather than frying them in a pot on the stove.
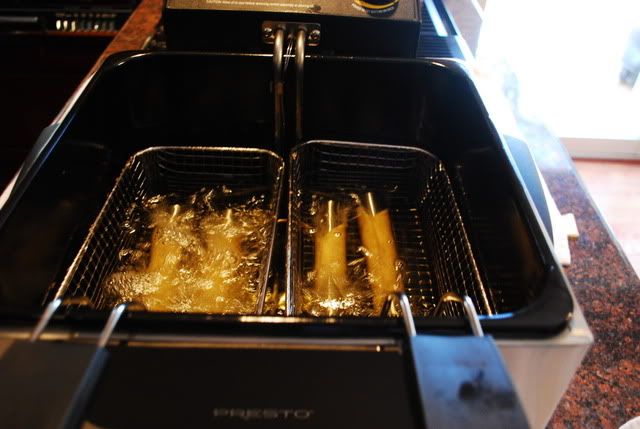
Also, you do need one essential piece of speciality equipment to make cannoli shells called cannoli forms. These hollow metal tubes are what you'll wrap your rolled cannoli dough around to hold their shape while they fry. You can buy them online in sets of 4. I suggest buying the forms that are at least 6 inches long and 1 inch wide. My friend who gave me the recipe, Rita, had a set of cannoli forms her father cut himself years ago out of heavy pipe, so if you're industrious enough these can be gotten on your own for very cheap. I found the investment in a nice set of cannoli forms worth it since I plan on making these for many Christmases to come.
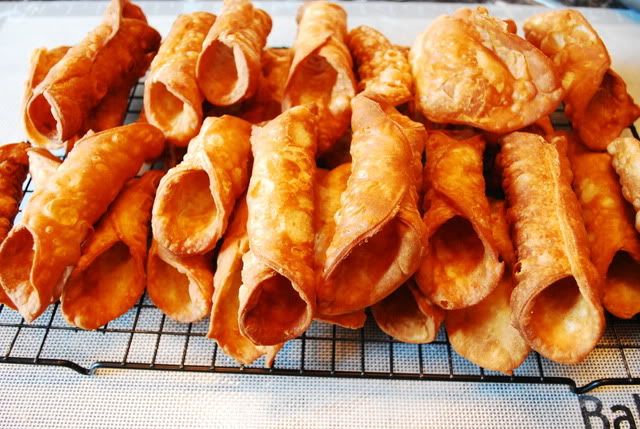
The only change we made to the recipe was using butter instead of shortening in the cannoli dough. My mom and I just like the flavor that butter lends to something, whereas shortening can be kind of bland. Hopefully Rita's Aunt Zia would approve. As much as I wish I could claim this was one of my Italian family's age-old recipes, at least from this point on we can incorporate it into our family traditions to be passed on to future generations. And that is very exciting! Enjoy!!
Zia's Cannoli
FILLING:
3 cups (1 1/2 lbs) Ricotta cheese (drain through a cheesecloth or papertowels at least 48 hours prior to mixing - DO NOT SKIP THIS STEP!!! Otherwise you'll have very runny filling)
1 cup sugar
2 teaspooons vanilla extract
3 drops of cinnamon oil
1/4 cup mini semi-sweet chocolate chips
1/2 cup finely chopped candied citron (I OMITTED THIS INGREDIENT)
Combine and beat the drained ricotta, sugar, vanilla and cinnamon oil until smooth, about 10 min. with electric mixer on medium speed. Once combined, stir in the chocolate chips, and citron if using. Place mixture in refrigerator to chill.
SHELLS:
3 cups sifted flour
1/4 cup sugar
1 teaspoon cinnamon
1/4 teaspoon salt
3 tablespoons butter
2 eggs, beaten
2 tablespoons white vinegar or Sauterne wine
2 tablespoons cold water
1 egg white, slightly beaten (for sealing dough around forms)
Sift together the flour, sugar, cinnamon and salt. Cut in the butter with a pastry blender until the pieces are the size of small peas and the mixture is crumbly. Next, stir in the beaten eggs. Finally blend in the vinegar and water one tablespoon at a time. Once the dough is combines, turn it out onto a lightly floured surface and knead. Wrap in waxed paper and chill in the refrigerator for 30 min.
Set out your deep fryer and fill with vegetable or canola oil and heat to 360 degrees.
Roll the chilled dough out to 1/16 in thickness on a floured surface. Cut 4 to 5 in long ovals from the dough. I made a form out of cardboard and used that to measure and cut my ovals.
Wrap the dough loosely around the tubes and seal at the top by brushing with some slightly beaten egg white. Press edges together to seal. Place two tubes each into a fryer basket and lower. Be sure not to overcrowd the fryer (two shells per basket at maximum). Fry until golden brown. Once done, lift and drain fat before removing WITH TONGS to absorbent paper. Do not remove with your hands because the forms will be hot. Once forms have cooled slightly you can remove the shells. The first one or two shells on each tube may stick a little, but after that they should remove pretty easily. Just wiggle the shells back and forth to loosen them from the tube.
Fill the shells when ready to serve for best taste. Filling them too early will result in soggy shells. Dust lightly with confectioners sugar and sprinkle ends of cannoli with finely chopped pistachio nuts if desired.
Makes 40-45 thin shells. Shells will keep for about 2-3 weeks in an airtight container at room temperature.



4 comments:
What a treat!
They are gorgeous, I would love to come over and help!
Good-lookin post,even better looking cannolis!
Your "Zia's Cannoli" work is awesome!! I hope one day I'll be able to decorate like this!
Cooking Equipment Melbourne
Post a Comment