Thursday, August 27, 2009

BB: White Pizza

I'm actually on time with a Barefoot Bloggers for once!! This has been a rare occurrence lately. I haven't had time to do much cooking this summer. My parents have a beach house so we've been trekking off to it every weekend and have made a lot of quick grilling meals and dinners out. On top of that, I've been doing some freelance work while in town so my evenings are pretty busy after work as well. I'm glad that I got to make this pizza though.
Photobucket
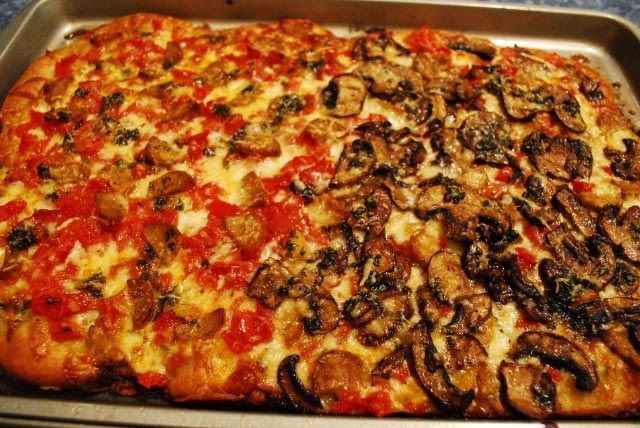
I made a lot of changes however. For one, I used store-bought pizza dough. I just didn't feel like making dough from scratch and the premade doughs in the grocery store now a days are pretty good. I bought a whole wheat dough and rolled it out onto a square pan.
Secondly, I was making this for a small crowd down at our beach house. I didn't think everyone would be a big fan of the whole salad on top of a pizza idea. To be honest, it's not really my thing either. I've had it before in restaurants and I think I prefer to eat my salad in a bowl alongside my pizza.
Photobucket
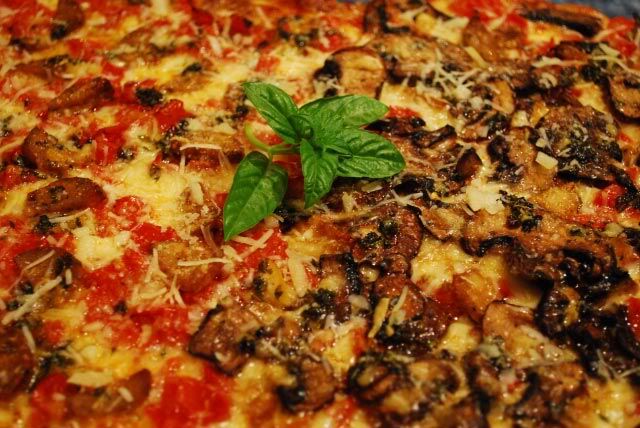
So I topped it with chopped fresh garden tomatoes, sauteed baby bella mushrooms and sliced soy-sage. Yes you read that right - tofu meat product. One of my friends eating with us was a vegetarian so I figured I'd whip out the fake meat products for her. It was actually pretty good. If sliced thinly, soy-sage crisps up on a pizza similar to pepperoni. Well, maybe not THAT similar, but a good enough substitute.
I also used a handful of fresh oregano instead of thyme in the garlic oil because I have tons of oregano on hand. I think I remember Ina saying in a show once that she doesn't like fresh oregano, but I absolutely love it and it was a great compliment for this pizza. That garlic oil and cheese combo made this pizza out of this world. It was so good! Between the five of us we finished the entire pizza. It was hard to stop eating! Ina hits a home run again and in turn, so did I. Enjoy!

White Pizza with Chopped Tomatoes, Sauteed Mushrooms and Soy-sage
source: adapted from Ina Garten, Barefoot Contessa
Photobucket

1 1/4 cups warm (100 to 110) water
2 packages dry yeast
1 tablespoon honey
Good olive oil
4 cups all-purpose flour, plus extra for kneading
Kosher salt
4 cloves garlic, sliced
1/2 cup chopped fresh oregano
1/4 teaspoon crushed red pepper flakes
(Or buy pre-made pizza dough from the refrigerated section of your grocery store. Mine comes in a plastic bag and can easily be grilled or baked.)
For the topping:
3 cups grated Italian fontina cheese (8 ounces)
1 1/2 cups grated fresh mozzarella cheese (7 ounces)
11 ounces creamy goat cheese, such as montrachet, crumbled (I omitted this and substituted freshly grated parmesan cheese)
2 large garden tomatoes, chopped
1 pint of baby bella mushrooms, sauteed
1 to 2 links of soysage, sliced thin
Directions
Mix the dough.

Combine the water, yeast, honey and 3 tablespoons of olive oil in the bowl of an electric mixer fitted with a dough hook. When the yeast is dissolved, add 3 cups of flour, then 2 teaspoons salt, and mix on medium-low speed. While mixing, add up to 1 more cup of flour, or just enough to make a soft dough. Knead the dough for about 10 minutes until smooth, sprinkling it with the flour as necessary to keep it from sticking to the bowl.

Knead by hand.

When the dough is ready, turn it out onto a floured board and knead it by hand a dozen times. It should be smooth and elastic.

Let it rise.

Place the dough in a well-oiled bowl and turn it to cover it lightly with oil. Cover the bowl with a kitchen towel and allow the dough to rise at room temperature for 30 minutes.

Make garlic oil.

Place 1/2 cup of olive oil, the garlic, a handful of oregano and red pepper flakes in a small saucepan and bring to a simmer over low heat. Cook for 10 minutes, making sure the garlic doesn't burn. Set aside.

Preheat the oven to 500 degrees. (Be sure your oven is clean!)

Portion the dough.

Dump the dough onto a board and divide it into 6 equal pieces. Place the doughs on sheet pans lined with parchment paper and cover them with a damp towel. Allow the dough to rest for 10 minutes. Use immediately, or refrigerate for up to 4 hours.

Stretch the dough.

Press and stretch each ball into an 8-inch circle and place 2 circles on each sheet pan lined with parchment paper. (If you've chilled the dough, take it out of the refrigerator approximately 30 minutes ahead to let it come to room temperature.)

Top the dough.

Brush the pizzas with the garlic oil, and sprinkle each one liberally with salt and pepper. Sprinkle the pizzas evenly with fontina, mozzarella and other toppings. Drizzle each pizza with 1 tablespoon more of the garlic oil and bake for 10 to 15 minutes, until the crusts are crisp and the cheeses begin to brown.

Wednesday, August 26, 2009

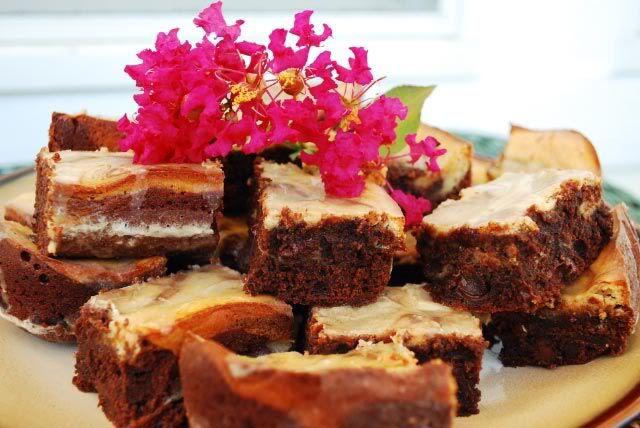
Baileys Irish Cream Cheese Brownies

I'm not much of a baker, but I love making brownies. Brownies and cookies. Why? Well, I find them fairly easy, not real fussy and there's no decorating involved. Well, for the most part. You just whip them up, pour them out and bake. Or in a cookie's case roll them into balls and bake.
Photobucket
See, I'm left-handed so I've never been real adept with certain skills. I'm dangerous with scissors, awful with a paintbrush, and worse with a sewing needle. My handwriting is atrocious and so I turn to a computer every chance I get. It's almost embarrassing for me to have someone watch me write something down. I appear illiterate or dyslexic! No joke. This gauche characteristic has probably contributed to my lack of patience for any handiwork that is detail oriented. I was never good with coloring books as a kid or even decorating Christmas cookies. I just wanted to finish those tasks as quick as possible before anyone realized how bad I actually was. Oh well.
Surprisingly enough I have been able to wrangle some knife skills somewhere along the line. Although my husband did bring home a huge box of bandaids for me to keep in the kitchen because I knick myself so much. Battle wounds. So you can see why I'm not much of a cake baker or anything that requires a lot of handiwork. I stick to the casual desserts.
Photobucket
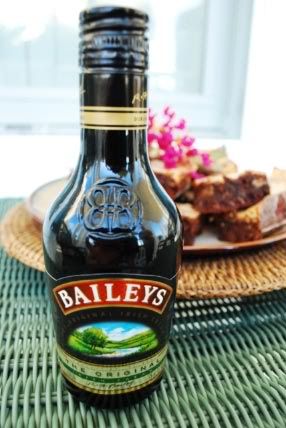
And you can never run out of varieties for brownies and cookies. I found these Bailey's Cream Cheese Brownies on Culinary Concoctions by Peabody . When I'm looking for an interesting dessert I always check her site archives. I find her baked goods delicious and not too entirely intimidating to make - well, again, for the most part. She does make some gorgeous creations that I wouldn't bother with because, as stated, I'm not the decorating type. But honestly, who needs decorations when you have Baileys and chocolate?? Not me! These were fudgey, rich and delicious. And so easy to make even a lefty can do it. Enjoy!

Baileys Irish Cream Cheese Brownies
source: Culinary Concoctions by Peabody
Photobucket

For the Swirl:
3 ounces cream cheese, room temperature
2 TBSP unsalted butter, room temperature
¼ cup sugar
1 large egg
1 TBSP all purpose flour
2 TBSP Bailey’s Irish Cream

For the Brownies:

6 ounces sweet baking chocolate (I used semisweet), chopped
3 TBSP unsalted butter, room temperature
½ cup sugar
2 large eggs
½ cup all purpose flour
½ tsp baking powder
¼ tsp salt
2 tsp vanilla extract
1 cup semisweet chocolate chips

For the Glaze:

4 ounces sifted powdered sugar
1 TBSP Bailey’s Irish Cream
milk to thin out (amount will vary)

Preheat oven to 350°F. Lightly butter 8-inch square nonstick baking pan. Using electric mixer, beat cream cheese and butter in medium bowl until light and fluffy. Gradually add sugar and beat until well blended. Beat in egg. Mix in flour, Irish Cream, and vanilla. Set mixture aside.

Stir baking chocolate and butter in heavy small saucepan over low heat until smooth. Cool slightly. Using electric mixer, beat sugar and eggs in large bowl until slightly thickened, about 2 minutes. Mix in flour, baking powder and salt. Mix in chocolate mixture and extracts. Stir in chocolate chips.
Spread half of chocolate batter (about 1 1/4 cups) in prepared pan. Using rubber spatula, spread cream cheese mixture over chocolate batter. Spoon remaining chocolate batter over top of cream cheese mixture. Using tip of knife, gently swirl through batter, forming marble design. Bake brownies until tester inserted into center comes out with a few moist crumbs attached, about 30 minutes.
Make glaze. Combine powdered sugar and Irish cream. If too thick thin out with milk.
While still warm brush (using a pastry brush) glaze over brownies. Let sit for 15 minutes. Cut into squares.

Monday, August 17, 2009

BB: Mango Banana Daiquiris

What a great choice for the last summer month of Barefoot Bloggers!
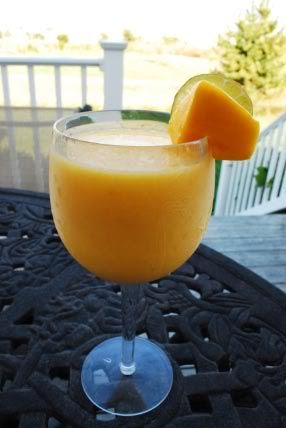
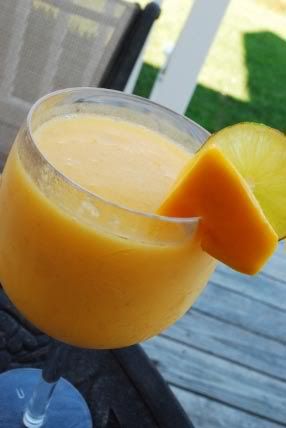
If it weren't for the rum, this drink would actually be 100 percent good for you. It's packed with fresh fruit, juicy mango, ripe bananas and fresh-squeezed lime juice combine with simple syrup, rum and ice to create a frosty, refreshing summer cocktail. I loved this recipe! It was easy and tasty and a little bit naughty, thanks to the rum.
I bought pre-cut mango chunks in the produce aisle of my grocery store because I'm seriously challenged when it comes to cutting mangos. That skinny, sideways pit always throws me off, not to mention the slippery flesh sliding through my hands as I'm trying to cut off the skin. A guy I know who is originally from Barbados can slice up a mango in seconds! I wish I had his skills. But until then, I'll buy the precut mango. I combined my fruits with Captain Morgan's Spiced Rum cause that is my favorite rum of choice.
Photobucket
If I made this again, which believe me I will, I think I'd swap out the banana for strawberries. Or maybe even add strawberries along with the banana. For some reason, I really thought strawberries should have been involved.

Mango Banana Daiquiris
source: Ina Garten, Barefoot Contessa
Photobucket

2 cups chopped ripe mango (1 to 2 mangos, peeled and seeded)

1 ripe banana, chopped

1/2 cup fresh squeezed lime juice (4 limes)

1/4 cup sugar syrup*

1 1/4 cups dark rum, such as Mount Gay

Mango slices, for serving

Place the mango, banana, lime juice, sugar syrup, and rum in a blender and process until smooth. Add 2 cups of ice and process again until smooth and thick. Serve ice-cold in highball glasses with the mango slices.

*To make simple syrup, heat 1 cup sugar and 1 cup water in a small saucepan until the sugar dissolves. Chill.

Thursday, August 13, 2009

Peanut Butter Swirl Ice Cream

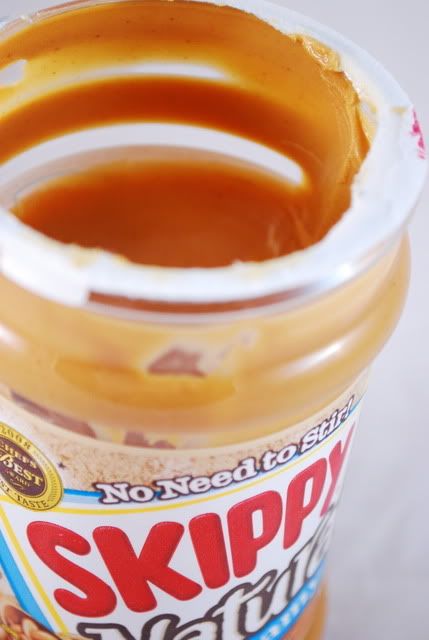
Shh...don't tell anyone but I'm have an ongoing love affair with peanut butter. I spread it on apples, fill logs of celery with it, spread it on toast, but mostly I just eat it straight out of the jar.
Photobucket
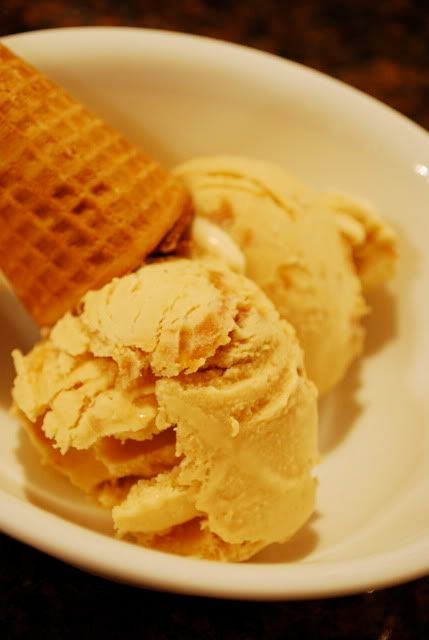
I love peanut butter cookies, peanut butter cups, peanut butter brownies and even savory foods with peanut butter, like pad Thai or peanut chicken! YUM! I hadn't discovered peanut butter ice cream until recently. I'd had peanut butter and chocolate ice cream but honestly, the chocolate got in the way for me. Just give me some peanut butter swirled thick through creamy vanilla ice cream. Then I found it! There's a homemade ice cream shop in Annapolis, MD and they make the most delicious peanut butter ice cream. Imagine huge, thick ribbons of peanut butter with every swipe of your tongue. They are encased in the most delicious vanilla bean ice cream.
Ever since that day, I've been on a mission to recreate that and this recipe came pretty close.
Photobucket
Like all homemade ice creams though, it froze to a super hard state so next time I make this I will try to add a bit of rum to keep it a little softer. Otherwise, this was exactly what I was looking for and I can't wait to make it again. Especially since my mom polished off the second half of the batch. I definitely didn't get to eat enough of this peanutty treat! Enjoy!

Peanut Butter Swirl Ice Cream
source: Savuer.com
Photobucket
1 cup milk
3⁄4 cup sugar
3 eggs
1 cup smooth natural peanut butter
1 1⁄2 cups heavy cream
2 tsp. vanilla extract
1 cup salted, roasted, shelled peanuts, chopped


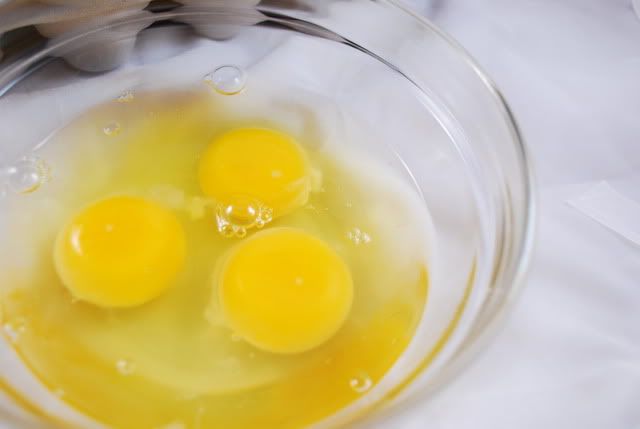
1. Heat milk in a small saucepan over medium heat until just hot. Meanwhile, beat sugar and eggs together in a medium bowl until thick and pale yellow.
Photobucket

2. Gradually whisk hot milk into egg mixture in bowl, then pour milk–egg mixture into saucepan. Return saucepan to medium-low heat and cook custard, stirring constantly with a wooden spoon, until it is thick enough to coat the back of the spoon, about 5 minutes. Remove saucepan from heat and stir in 1⁄2 cup of the peanut butter. Strain custard into a large bowl, let cool briefly, stirring often, then stir in cream and vanilla. Cover and refrigerate until cold, 6–8 hours.


3. Process mixture in an ice cream maker according to manufacturer's directions, adding 1⁄2 cup of the chopped nuts to the ice cream 30 seconds before it has finished churning. Transfer to a bowl, quickly swirl in remaining 1⁄2 cup peanut butter, cover, and freeze until hard. Serve ice cream sprinkled with the remaining 1⁄2 cup nuts.

Friday, August 7, 2009

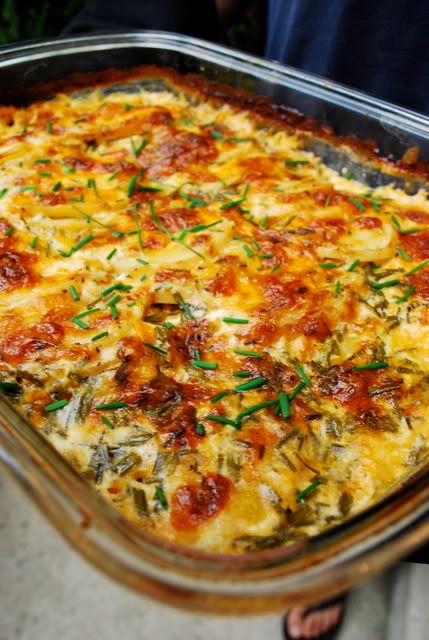
Cheddar & Chive Au Gratin Potatoes

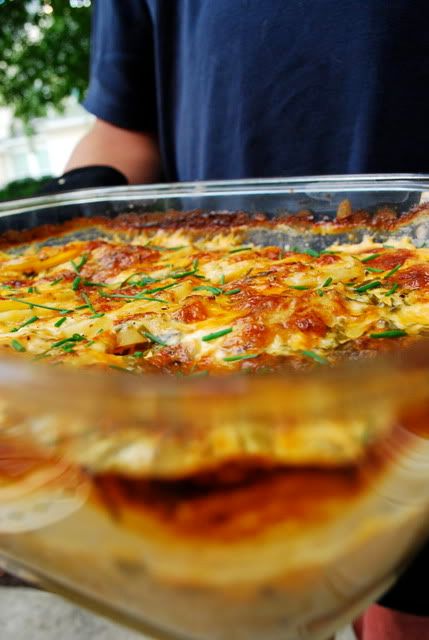
I have chives growing like crazy in a pot on my patio and needed to find another way to use them up. So I came up with these cheddar and chive potatoes.
Photobucket
This isn't a completely original recipe I'm sure - it just follows your basic au gratin rules. This was easy to put together and yummy. In addition, it served it's purpose in using up some of my chives.
Enjoy!

Cheddar & Chive Au Gratin Potatoes
Photobucket

4 yukon gold potatoes
1/4 cup chopped chives (I really used 1/2 just because I had it but that might be a little much for most normal people)
2 cups shredded cheddar cheese
2 cups milk (use whole if you can stomach the extra calories - it works the best)
2 tablespoons heavy cream
1/4 cup parmesan cheese
salt and pepper

Preheat oven to 375 degrees. Slice the potatoes very thin - like 1/4 in. thick. Mix them with the remaining ingredients except for the heavy cream and parmesan cheese, then season with salt and pepper. Lay then in a baking dish and cover with the heavy cream and then sprinkle with the parmesan cheese. Bake for 45 minutes to an hour until golden brown and bubbly. Remove and let cool. Cut some fresh chives over the top to add some freshness and serve.

Tuesday, August 4, 2009

Grilled Eggplant and White Bean Dip

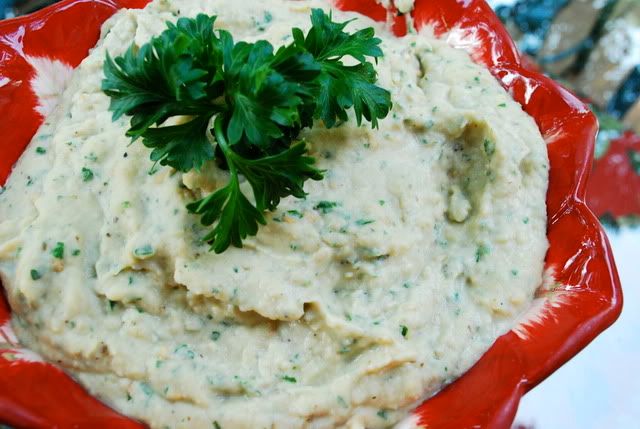
Did I ever mention that I love dip?? I could seriously eat most dips as a meal. When I go to a party, I always fall prey to the dip. If it's creamy or cheesy then fugghetaboutit! I'm smitten. So since I enjoy dip so much, I try to whip up some healthy ones once in a while that I don't mind indulging in a little too much. With that said, I present this "creamy" dip that is full of vitamins and minerals.
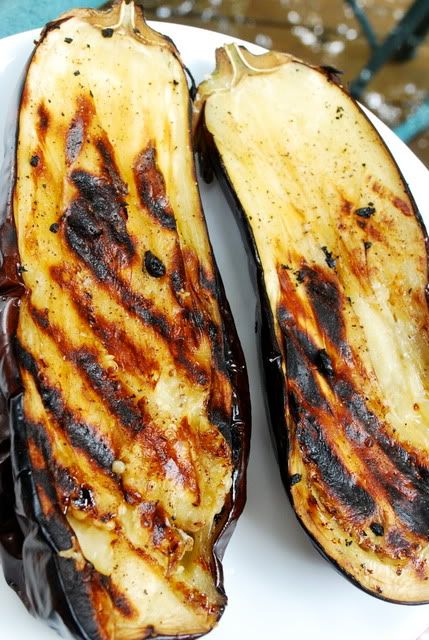
Photobucket
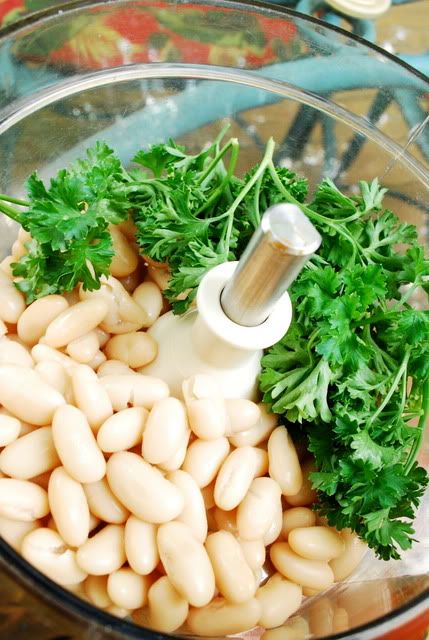
I would say this a combination of babaganoush (I'm sure I'm spelling that wrong and I'm also sure I'm too lazy at the moment to google it and get it right so my apologies) and white bean dip. I combined grilled eggplant, cannelini beans, tahini, lemon juice, parsley and olive oil and served it up with oregano pita crisps.
Photobucket
Perfect for a dinner party and healthy too! Enjoy!

Grilled Eggplant and White Bean Dip
Photobucket
1 eggplant
1 can cannelini beans, drained and rinsed
2 tablespoons tahini
juice of half a lemon
1/4 cup chopped parsley
2 cloves garlic minced
1/4 cup olive oil (or more if needed to get the right dip consistency - I didn't really measure I just streamed it in while the processor was running and stopped when it looked dipish, if that makes sense?)
salt and pepper

Cut the eggplant in half. Drizzle each cut half with olive oil and sprinkle with salt and pepper. Place skin side on the grill first and let cook until slightly soft - about 8 minutes. Flip and grill on the flat cut side until completely soft.
Photobucket
Once done, scoop the flesh out of the skin into a food processor. Add the remaining ingredients except for the olive oil and pulse until smooth.
Then stream in the olive oil as the processor is running. Once the ingredients become a thick dip consistency remove from processor and serve with oregano pita crisps.

Oregano Pita Crisps

1 package of pita bread, cut into triangles
olive oil
1/2 cup chopped fresh oregano (or dried is fine too, just sprinkle on what you need to adequately coat the pita triangles)

Preheat the oven to 375. Drizzle the pita triangles liberally with olive oil.
Once the pita triangles are well oiled, sprinkle the oregano over them and toss to coat evenly. Season with salt and pepper and then bake in a single layer in the oven until golden brown and crispy. Serve with a dip of your choice.

Monday, August 3, 2009

Ina's Outrageous Brownies

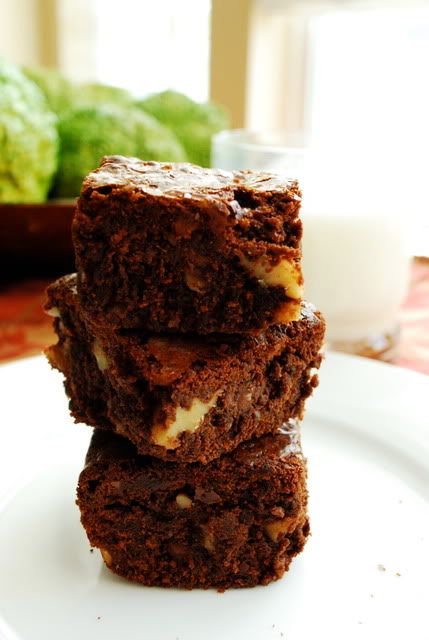
Outrageous is right. It's outrageous that I'm baking ooey gooey high-fat brownies in the middle of July! Between my bikini, short shorts and flirty skirts my thighs have more than enough to worry about without adding brownies to the mix. But I like to live on the edge. And believe me there is nothing more daring than staring down a plate of these dense, chewy brownies in the middle of bathing suit season.
Photobucket
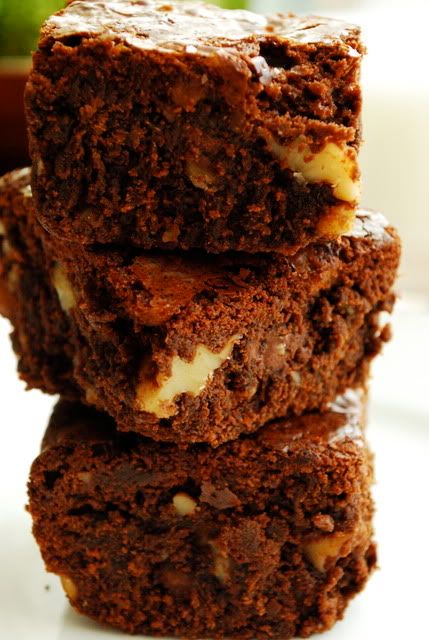
These brownies are absolutely perfect. They are the Goldilocks of brownies. Not too fudgey, not too cakey. Just the right amount of nuts and a hint of espresso to deepen the whole experience. Your thighs definitely will not thank you, but your taste buds will. Enjoy these with a scoop of vanilla ice cream and a tall glass of milk. Skim milk of course!! It's kind of like getting a diet coke with your big mac. You can rest easy knowing you made at least one healthy choice. Indulge, savor and share with friends. In fact, eat these in your shortest of shorts or skimpiest of bikinis. Show those thighs who's boss!! And....then go to the gym. At least that's what I told myself I would do. Enjoy!

Outrageous Brownies
source: Barefoot Contessa, Ina Garten
Photobucket

1 pound unsalted butter
1 pound plus 12 ounces semisweet chocolate chips, divided
6 ounces unsweetened chocolate
6 extra-large eggs
3 tablespoons instant coffee powder
2 tablespoons real vanilla extract
2 1/4 cups sugar
1 1/4 cups all-purpose flour, divided (1 cup for batter and 1/4 cup in the chips and nuts)
1 tablespoon baking powder
1 teaspoon kosher salt
3 cups diced walnut pieces
Directions
Preheat oven to 350 degrees F. Grease and flour a 13 by 18 by 1 1/2-inch sheet pan.

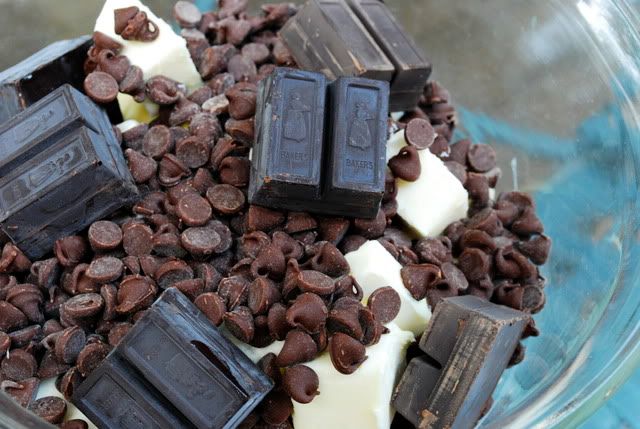
Melt together the butter, 1 pound chocolate chips, and unsweetened chocolate on top of a double boiler. Cool slightly. Stir together the eggs, instant coffee, vanilla and sugar. Stir in the warm chocolate mixture and cool to room temperature.
Photobucket
Stir together 1 cup of the flour, baking powder and salt. Add to cooled chocolate mixture. Toss the walnuts and 12 ounces of chocolate chips with 1/4 cup flour to coat. Then add to the chocolate batter. Pour into prepared pan.

Bake for about 30 minutes, or until tester just comes out clean. Halfway through the baking, rap the pan against the oven shelf to allow air to escape from between the pan and the brownie dough. Do not over-bake! Cool thoroughly, refrigerate well and cut into squares.